Adding Images to Gatsby Markdown Pages
Introduction
Setting up GatsbyJS to serve images from your blog posts written in markdown pages is strightforward, but it's not something that is well documented.
Setup
As a pre-requisite for this tutorial, I have a clean site install (using the gatsby cli command gatsby new MyGatsbySite. Additionally, I have also implemented the steps laid out in this tutorial. This will give a barebones implementation to build up on.
On top of this setup, I've also wrapped the markup in the render method src\templates\blogPostTemplate.js with the <Layout /> component so that the blog posts are correctly styled:
import Layout from "../components/layout"
.
.
export default function Template({
  data, // this prop will be injected by the GraphQL query below.
}) {
  .
  .
  return (
    <Layout>
			<div className="blog-post-container">
        .
        .
			</div>
    </Layout>
  )
}
The Approach
After getting our site up and running to the state described in the previous section, we should be able to see the following page when we navigate to http://localhost:8000/blog/my-first-post:

To add an image to page, we need to add some markdown code using the following syntax:
Now lets add the markdown code to render the Gatsby Astronaut image (included in a default site setup) in our blog post:

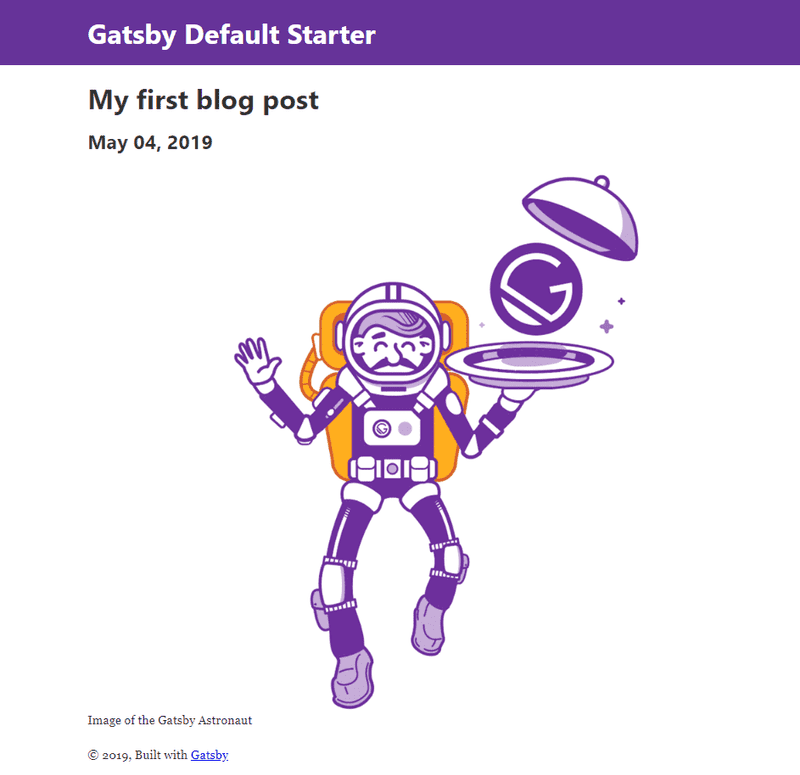
Which yields the following result in the frontend:

Looks like we need to download a few more node packages that will allow gatsby to correctly process images. Download the following two packages:
npm i gatsby-remark-relative-images gatsby-remark-imagesThe next step after installing these packages is to update gatsby-config.js so that Gatsby knows what to do with them.
Update your gatsby-config.js file using the following snippet. Take note of how we've converted gatsby-transformer-remark to an object (from a string) so that we are able to add plugins to it.
.
.
plugins: [
  `gatsby-plugin-react-helmet`,
  {
    resolve: `gatsby-source-filesystem`,
    options: {
      name: `images`,
      path: `${__dirname}/src/images`,
    },
  },
  {
    resolve: `gatsby-source-filesystem`,
    options: {
      name: `markdown-pages`,
      path: `${__dirname}/src/markdown-pages`,
    },
  },
  {
    resolve: `gatsby-transformer-remark`,
    options: {
      plugins: [
        `gatsby-remark-relative-images`,
        {
          resolve: `gatsby-remark-images`,
          options: {
            maxWidth: 800,
            linkImagesToOriginal: false,
            sizeByPixelDensity: true,
            showCaptions: true
          }
        },
      ]
    }
  },
  `gatsby-transformer-sharp`,
  `gatsby-plugin-sharp`,
  {
    resolve: `gatsby-plugin-manifest`,
    options: {
      name: `gatsby-starter-default`,
      short_name: `starter`,
      start_url: `/`,
      background_color: `#663399`,
      theme_color: `#663399`,
      display: `minimal-ui`,
      icon: `src/images/gatsby-icon.png`, // This path is relative to the root of the site.
    },
  },
  // this (optional) plugin enables Progressive Web App + Offline functionality
  // To learn more, visit: https://gatsby.dev/offline
  // `gatsby-plugin-offline`,
],
.
.
Restart your dev server for the changes in gatsby-config.js to take effect.
Now refresh the page in your browser:

Notice the figure caption text showing below the image. This can be turned off - along with some other options - on the gatsby-remark-images page.
Conclusion
And that's it! I found that getting images to render wasn't very well documented or as straightforward to work out quickly, so hopefully this will help you.
Comments